Board Building · 5 min read
How to Build a Stunning Charcuterie Board at Home
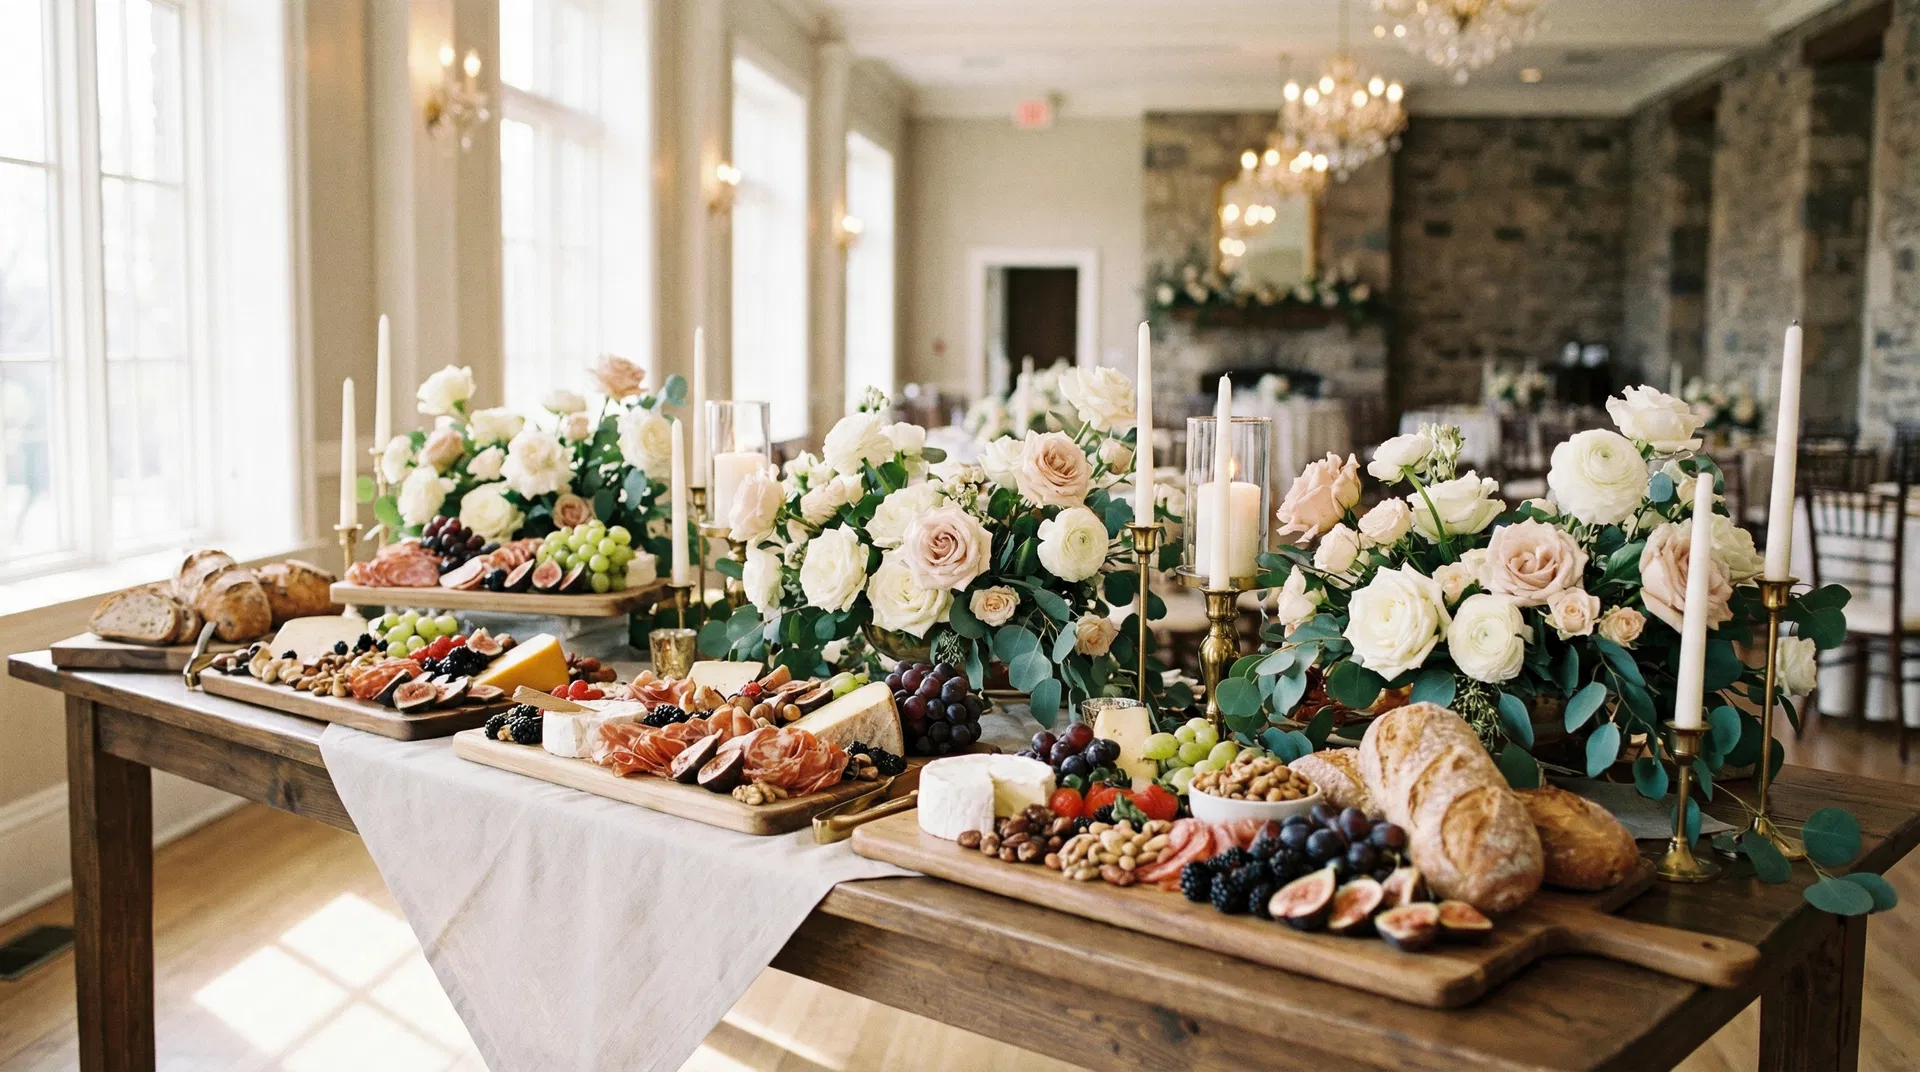
A great charcuterie board is part art, part science. After building hundreds of boards for events across Phoenix, Mesa, and Scottsdale, our team has developed a repeatable process that produces stunning results every time. Here's exactly how we do it.
Step 1: Start with Your Board or Surface
The foundation matters. Choose a large wooden board, slate tile, or marble slab that gives you enough surface area — plan for roughly 6–8 inches of board space per person for a cocktail-style spread. Boards with natural edges and organic shapes tend to photograph better and feel more artisan.
Step 2: Place Your Anchors First
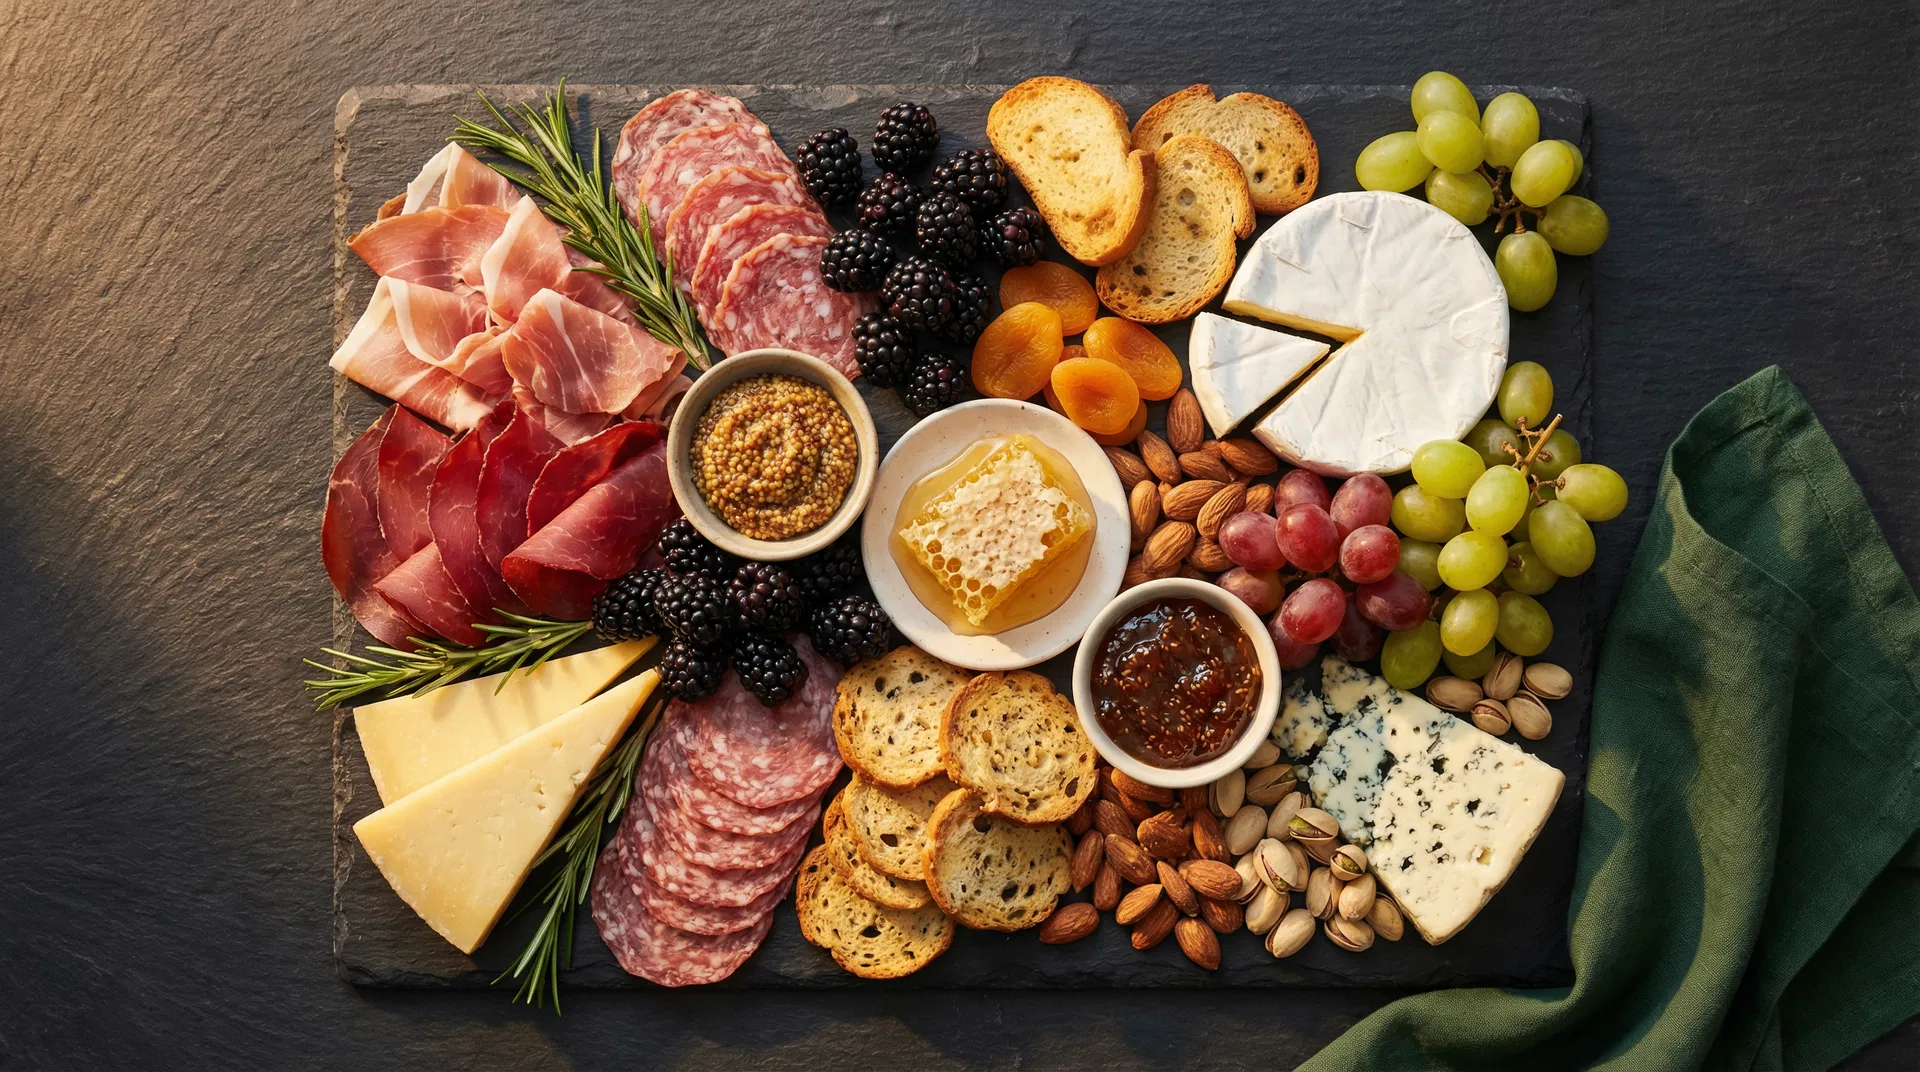
Anchors are your largest items: small bowls of honey, jam, mustard, or olives. Place these first because they define the structure of your board. We typically use 3–5 small ramekins or bowls, distributed across the board to create visual balance.
Step 3: Fold and Fan Your Meats
Cured meats are the star. For prosciutto, fold slices into loose rosettes. For salami, create a "salami river" by folding slices in half and overlapping them in a flowing line. For coppa or bresaola, fan slices out from a central point. Variety in folding technique adds visual texture.
The best meats for a well-rounded board: prosciutto di Parma, Genoa salami, soppressata, and coppa. Aim for 3–4 varieties.
Step 4: Add Your Cheeses
Cheese selection is where most home boards fall short. Aim for variety in texture and flavor: one soft (brie or camembert), one semi-firm (manchego or gouda), one hard (aged cheddar or parmesan), and one blue (gorgonzola or roquefort) if your guests enjoy bold flavors.
Pre-slice hard cheeses and break soft cheeses open slightly to invite guests to dig in. Leave a cheese knife beside each variety.
Step 5: Fill with Color — Fruits and Vegetables
Color is what makes a board visually pop. Use a mix of fresh and dried fruits: grapes (both red and green), sliced strawberries, dried apricots, figs, and blueberries. For vegetables, cornichons, cherry tomatoes, and sliced cucumber add freshness and crunch.
Step 6: Add Crackers and Bread
Crackers and bread go in last because they fill gaps and frame the board. Use a variety: water crackers, seeded crisps, and sliced baguette. Fan them out in clusters rather than spreading them evenly — it looks more intentional.
Step 7: Finish with Garnishes
Fresh rosemary sprigs, edible flowers, and microgreens are the finishing touches that elevate a board from good to stunning. Tuck rosemary into gaps between items to add greenery and fragrance. A light drizzle of honey over the brie adds a visual and flavor finish.
Pro Tips from Our Artisans
- Work from the outside in. Place items around the edges first, then fill the center.
- Odd numbers look better. Three clusters of grapes, five types of crackers — odd numbers feel more organic.
- Let cheese come to room temperature. Pull cheese from the fridge 30–45 minutes before serving for best flavor.
- Don't overcrowd. Leave small gaps — it looks more intentional and makes it easier for guests to pick items up.
Want a professional charcuterie board built for your next event in Mesa, Phoenix, or Scottsdale? Book your event and let our team handle every detail.
Ready to Book?
Let Us Build Your Next Charcuterie Experience
Serving Phoenix, Mesa, Scottsdale, Chandler & Gilbert, AZ.
Service Areas
Keep Reading